Posted on

How To Do a Fish Hook Elbow Escape From Mount in BJJ

Some say that the UFC and Brazilian Jiu-Jitsu truly made it in the world when Friends did an episode about it. And in the opening to that episode “The One With The Ultimate Fighting Competition,” there was reference to a fish hook. 

Monica: “It’s sort of like wrestling, but without the costumes.”

Joey: “And it’s not fake. It’s totally brutal.”

Chandler: “Yeah, it’s two guys in the ring and the rules are THERE ARE NO RULES”

Monice: “You can, like, bite and pull people’s hair and stuff?”

Ross: “Anything goes except eye gouging and fish hooking.”

Monica: “What’s fish hooking?

Ross: “What’s fish h—”

*interrupted by Joey fish hooking him*

Ross: “thanks man that would have been really hard to describe”

So of course when the Gracie family wrote out their BJJ Blue Belt Test, they included fish hooking. The fish hook that is actually used in BJJ isn’t as dangerous or disgusting as the Friends fish hook, but they do share a name.

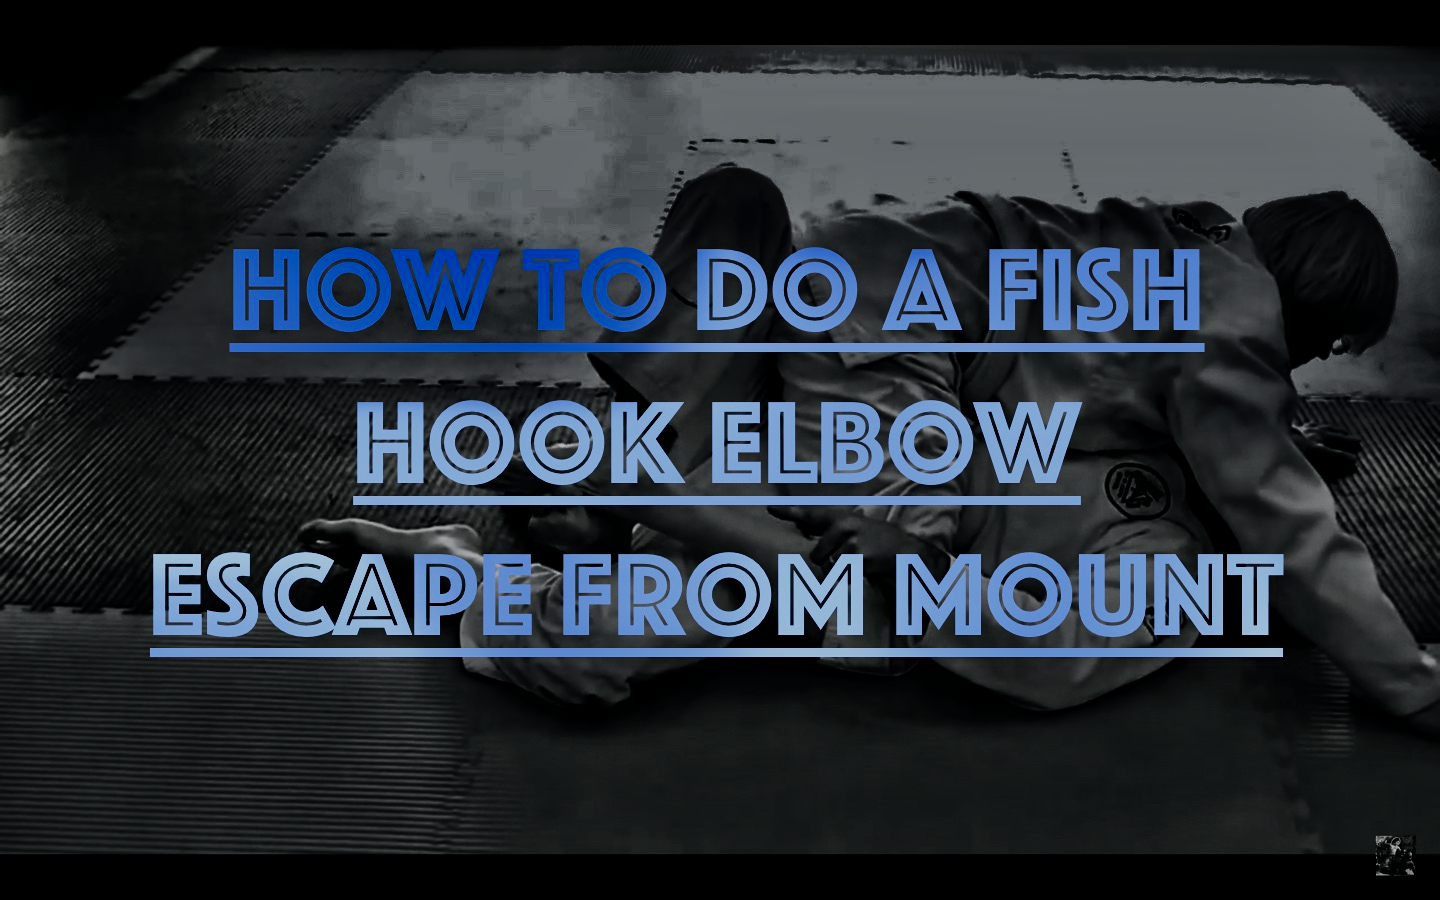
In actual BJJ the fish hook is a technique for escaping the mount when your opponent is wise to your standard elbow escape and hides their leg from you, and this sneaky ninja move will let you work around that.

Start: Mounted, opponent has tight legs securing you

Step 1: Bend your knee on the side you’d like to extract first until opponent’s foot pops up and over your knee

Step 2: Hook your other foot under opponent’s foot (this is your fish hook)

Step 3: Lift opponent’s foot up with your hand while you push down on their knee with your elbow to clear the path for your extraction leg (this is your fish hook

Step 4: Swim extraction side hand over opponent’s shoulder and then over their neck to grip opposite side shoulder

Step 5: Step extraction side foot over opponent’s leg from the outside to trap it

Step 6: Extract trapped leg by slicing knee inside of opponent’s knee and switching jips for more room

Finish: Closed guard via fish hook elbow escape from mount

Posted on

How To Do a Hook Removal Mount Escape in BJJ

In BJJ, MMA, and in street fights, being mounted is one of if not the worst position you can be in. When mounted, your opponent is using their weight to control all of your movements while leaving their hands and feet free to stop any escape attempts or mount their own attacks. Being mounted in BJJ only gets worse when someone grapevines you and hooks their heels under your legs, stretching you out until you can’t bridge or upa.

With no ability to post either of their feet, the grapevined BJJ fighter is stuck with no chance to create space between their body and the top player’s hips. To get back to a position they could upa from, the bottom fighter would need to leg curl with enough strength to overpower their opponent’s extension. Unless the bottom fighter is built like elastigirl, that’s a losing battle.

The BJJ hook removal mount escape is an essential Jiu-Jitsu mount escape, so critical that it is part of the Gracie BJJ Blue Belt test guide

Start: Mounted and grapevined

Step 1: Kick one leg out to the side to strip opponent’s grapevine and then circle inside

Step 2: Use free foot to peel opponent’s other grapevine off and kick the trapped leg straight

Step 3: Frame a hand on opponent’s knee to stop its movement

Step 4: Slide the frame-side knee through in front of opponent’s knee

Step 5: Step free foot over opponent’s leg to trap it and switch onto you opposite hip

Step 6: Frame against opponent’s other leg and slide that knee through

Finish: Guard via Hook Removal Mount Escape

Posted on

How To Do An Ezekiel Choke in BJJ

The Ezekiel choke in BJJ is named after Ezequiel Paraguassu, an olympic Judo fighter who studied with the Gracie BJJ family before the 1988 olympics to perfect his ground fighting. According to Jiu Jitsu Legacy, Paraguassu was frustrated by the tight closed guard of his new Brazilian friends until he remembered an old, rarely used judo choke called the Sode Guruma Jime, Japanese for sleeve wheel constriction. The choke was so effective and popular that it was named after him (albeit with a misspelling).

The Ezekiel choke uses the cross face position from mount, half guard, or even from inside someone’s guard to grip onto the free arm’s sleeve and use that sleeve to choke the opponent. This setup doesn’t require sacrificing your good position, so it’s a great submission to attempt even if your opponent defends it well. 

Start: Mount

Step 1: Establish cross face behind opponent’s neck

Step 2: Grip attacking arm’s sleeve with four fingers of cross face hand

Step 3: Slide attacking hand under opponent’s chin and over their neck

Step 4: Pour weight onto your hands and into the choke

Finish: Submission via Ezekiel choke

Posted on

How To Do A No Gi Ezekiel Choke in BJJ

The no gi ezekiel choke in BJJ is one of the meanest chokes in the game. Achieved by wrapping your arms around your opponent’s neck and then figure fouring them so that no space is left and your opponent’s head feels like it’s going to pop off, this choke is one that should be in every Jiu-Jitsu fighter’s arsenal. Slow and methodical but strong and tight, the no gi ezekiel choke is absolutely disheartening for the victim.

The no gi ezekiel choke can also be used in gi BJJ, but there is an easier ezekiel choke that uses a grip on the gi sleeve instead of figure fouring the arms.

Start: Mount

Step 1: Establish deep cross face by pushing opponent’s head into bicep with your head

Step 2: Clear opponent’s free hand so that both of your arms are able to attack the neck (threaten an arm triangle so that opponent’s defense leads them to an underhook)

Step 3: Lean towards arm with cross face

Step 4: Grip bicep of your attacking arm with cross face hand

Step 5: Slide hand along opponent’s ear to their neck

Step 6: Squeeze arms similar to rear naked choke

Finish: Submission via no gi ezekiel choke

Posted on

How To Do A Headlock Trap and Roll Escape

Being fully mounted in Brazilian Jiu-Jitsu is an awful position. With no opportunities to attack your opponent, your only goal when mounted is to escape from the mount and recover your guard or switch to the top where you have a chance to break your opponent’s guard and pass to an advantageous position. In MMA or a street fight, the mount is an even worse position. That is why escaping from mount is a crucial tool to have in BJJ and is included in the How To Get A Blue Belt guide

A common position when the bottom fighter is strong or very active trying to escape is the cross-face or headlock, where the top fighter will reach their arm under the bottom fighter’s head and through so that their elbow is against the bottom person’s neck. This locks them down onto the bottom fighter and sets up attacks like the Ezekiel choke.

The headlock trap and roll escape in BJJ allows you to sweep your opponent off of their position mounted on top of you even when they have you in a headlock, an even worse position! The headlock that secures the mount can be used by the bottom fighter to trap the top fighter and turn their attack against them as they are swept to their back.

Start: Mounted with a headlock or cross-face

Step 1: Grab arm with headlock and make your head heavy to trap in place

Step 2: Step foot on same side as headlock over opponent’s foot to trap it

Step 3: Wrap other arm around opponent’s back in a body hug

Step 4: Bridge hips up

Step 5: Reach body hug arm across towards other side

Step 6: Switch hip to follow opponent over

Finish: Opponent’s guard via headlock trap and roll escape

Posted on

How To Do A Punch Block Trap and Roll Mount Escape in BJJ

The punch block trap and roll mount escape is a simple, basic, effective mount escape. This variation is based on the idea of blocking a punch, so it is definitely essential for a street fight or MMA, but it is so essential for Brazilian Jiu-Jitsu that it is a part of the Gracie BJJ How To Get a Blue Belt guide.

This mount sweep relies on one of the fundamental ideas in Brazilian Jiu-Jitsu when thinking about sweeping or escaping from your opponent: remove one of the legs of the table. Think of an opponent’s limbs as the legs of a table (since they have four of them and usually use all four to support themselves when they’re in a top position), and then think of what would happen if you were to take one of the legs away from a table (it would fall over, if not immediately then definitely if you bumped it towards the missing leg). This is a fundamental rule when escaping or sweeping an opponent. In the punch block trap and roll escape, you take away one of the table legs (the opponent’s arm) and then set up a block on their leg to stop them from changing from a normal table into a tripod. This allows you to simply visualize the trap and roll mount escape shown in the video below.

Start: Mounted with opponent posturing up to punch

Step 1: Sit up and hug opponent’s midsection to reduce space

Step 2: Bridge hips to push opponent forward and force them to post their hands on the floor

Step 3: Reach hands up and onto opponent’s shoulders from behind and climb up opponent’s body with legs
Step 4: Trap opponent’s arm on the rolling side with a whizzer-style over-elbow arm wrap

Step 5: Post rolling-side foot on the outside of opponent’s leg to trap it

Step 6: Bridge up and to rolling side and reach other-side arm up to roll opponent onto their back

Finish: Opponent’s guard via punch block trap and roll escape

Posted on

How To Do A Stage 1.5 Triangle Choke Variation

The triangle choke is an essential choke in BJJ. Brazilian Jiu-Jitsu as a martial art is focused on using body mechanics to submit an opponent even if they might be larger and stronger than you and the triangle from guard is a perfect example of that. Using the geometry of your legs and your opponent’s neck and arm, the triangle allows you to choke them without relying on strength.

The BJJ Stage 1.5 position is an open guard position that uses a push-pull on your opponent’s arm to secure them in a spot that prevents them from punching (in MMA or on the street), passing your guard, or backing out of the position. Stage 1.5 in Jiu-Jitsu is achieved by gripping your opponent’s wrist while pushing your knee into their elbow, blocking any movement forward or back.

The triangle choke stage 1.5 variation is a part of the How To Get A Blue Belt guide by Gracie Jiu-Jitsu.

Start: Stage 1.5 position, side with knee trapping opponent’s arm will be attacking side

Step 1: Push knee forward and then use the space created to slip foot up and over opponent’s shoulder, cross ankles

Step 2: Pull opponent’s trapped arm across your body to the attacking side

Step 3: Grab back of opponent’s head to pull them in and drop your non-attacking side leg to their hip, adjust your position so that opponent’s trapped arm is 90 degrees

Step 4: Bring attacking-side leg over opponent’s neck so that your hamstring is against their neck and figure four your non-attacking leg over your shin

Step 5: Push your knees together, pull opponent’s head down and push your hips up

End: Submission via stage 1.5 triangle choke

Posted on

How To Do a Giant Killer Triangle Choke Submission in BJJ

The triangle choke submission in BJJ is one of the defining submissions of the sport. Using the triangle choke a smaller or weaker person can use the mechanics of their legs to choke the neck of a larger, stronger opponent. The triangle perfectly illustrates the Brazilian Jiu-Jitsu core belief that technique will beat strength. That belief is at the core of the name of this submission, the giant killer triangle choke. 

The giant killer triangle choke submission is a basic technique that is a part of the How To Get a BJJ Blue Belt guide for what the Gracie family expects every blue belt to know. 

The giant killer triangle submission is an option if your opponent is too large or too strong for you to secure the open guard 1.5 position and you are left without the push-pull necessary to fully control their upper body. 

Start: Closed guard with opponent hugging close to you

Step 1: Use legs to push opponent’s hips down and away from your head

Step 2: Use two hands to push opponent’s head to one side (this will be attacking side)

Step 3: Post non-attacking side foot on the ground and shrimp to that side

Step 4: Put both feet onto opponent’s hips and grab opponent’s non-attacking side arm with both hand

Step 5: Stretch opponent out with push-pull of hips and arm to create enough space for triangle setup

Step 6: Swim attacking side leg up and over opponent’s neck and lock ankles

Step 7: Push opponent’s trapped arm across their body

Step 8: Post non-attacking foot on opponent’s hip and rotate your body in line with their trapped arm

Step 9: Figure-four non-attacking side knee over attacking shin

Step 10: Pull down on opponent’s head and squeeze triangle choke 

Finish: Submission via giant killer triangle choke submission

Posted on

How To Do A Soul Crusher Arm Bar in BJJ

The soul crusher position in BJJ is an absolutely vicious setup for the cross body arm bar from mount that will leave your opponent broken and defeated. Part of the goal in BJJ is to do the coolest stuff, and a big part of that is hitting the submission with the coolest name. Sure everyone knows the guillotine and anaconda choke, but while those are intimidating names, they aren’t quite as mean sounding as the soul crusher arm bar.

Part of what makes the soul crusher a cool submission is that it lives up to its name. The soul crusher puts your weight to work on your opponent’s chest, and then their shoulders while you force them into an awkward, uncomfortable position where they beg you to just submit them.

Start: Mount 

Step 1: Stretch your opponent into a pressure mount by hooking your heels around their legs and stretching them down and away from your body while arching your legs up and lifting your knees off the ground to drive your hips into your opponent’s body.

Step 2:  Get a cross face with your attacking arm and reach all the way through to opponent’s arm pit

Step 3: Drive opponent’s elbow to the ground with your attacking hand

Step 4: Circle non-attacking hand to the mat palm down below your opponent’s elbow

Step 5: Walk attacking hand up to above opponent’s head

Step 6: Grip across opponent’s head with at your non-attacking hand

Step 7: Give up crossface and repeat elbow drive and walk up above opponent’s head with that hand

Step 8: Squeeze both arms together

Step 9: Switch to high mount

Step 10: grip opponent’s elbow with attacking hand

Step 11: Kick non-attacking leg out away from opponent’s body

Step 12: Sit up onto opponent’s waist and post non-attacking hand on the mat for support

Step 13: Lean in and step attacking side foot over opponent’s head

Step 14: Sit back and bridge hips

Finish: Submission via soul crusher arm bar

Posted on

How To Do a Kimura Takedown in BJJ

If you watched UFC Fight Night: Ladd vs Dumont, you might have caught Ramazan Emeev taking Danny Roberts to the mat with a Kimura takedown. At the time it was called creative by the commenting team but like Jim said “as we all know, the one thing that thousand-year-old martial arts do all the time is change.” This video from 2009 has Nick Diaz showing how he does the kimura takedown.

The kimura takedown uses the kimura arm submission that we all know and love (if you don’t know and love the kimura, check out How To Do a Kimura From Guard in BJJ – Forced Variation, How To Do A Kimura From Side Control Bottom in BJJ.

Start: Standing, opponent has back with double under hooks

Step 1: Target which we of opponent’s hands is on top, this will be the side you attack. Grab that wrist with your other side hand

Step 2: Push down on opponent’s wrist with both of your hands while you base down.

Step 3: Use the space created by basing down to weave your attacking side hand over opponent’s arm and through to grab your other wrist.

Step 4: Push down and base to break opponent’s grip

Step 5: Turn towards attacking side and push opponent’s arm up, causing them to follow the motion and go off balance

Finish: Side control via kimura takedown