Posted on

FilmJitsu – BJJ in The Expanse S3 E3: Assured Destruction

The rear naked choke (often shortened to RNC even though the choke has no political affiliation) is the most effective and simplest choke in all of BJJ. It’s a choke that can still be effective even when done poorly and applied to the windpipe instead of the carotid artery.

The rear naked choke is so simple and effective that even at the highest level of competition against skilled opponents, it is far and away the most commonly effective choke in the UFC with 49% of all submissions by RNC (the next closest is the guillotine at 14%) according to BJJ Tribes in December 2020. 

Also, because the rear naked choke is a blood choke it is mostly undetectable as a cause of death. Where a windpipe choke would leave bruising and damage to the windpipe, the rear naked choke just shuts off blood to the brain like kinking a hose.

So it’s not surprising that the well trained former soldier Cotyar used it to quickly and reliably dispense of the nervous nelly and noted turncoat Theo in The Expanse S3 E3: Assured Destruction. Theo started as an electrician on Jules-Pierre Mao’s Guanshiyin luxury space yacht and helped Chrisjen Avasarala, Bobbie Draper, and Cotyar escape. So he was a friend but then as soon as the heat was on, was willing to lie about that to save his skin when the U.N.N. ship Agatha King picked them up. 

So when Cotyar needed a way to quickly, efficiently, and most of all undetectably kill Theo, he used the old faithful rear naked choke. While Cotyar executed the RNC correctly, The Expanse is still a TV show and they need to show to non-fight sport enthusiasts that Theo had no chance of surviving the choke so they added in a TV Trope neck snap.

Posted on

How To Do a Ninja Choke

One of the best advantages of an in-depth knowledge of BJJ is the depth of options available in any given situation. If you’ve studied Jiu-Jitsu even a little bit you’ve probably discovered that no matter what happens and how your initial plan gets derailed, you still have options. 

Case in point is the ninja choke off of a failed guillotine attempt. When your opponent stops your guillotine choke by removing your choking hand, you could fight back against them and force your arm back under their chin, but that requires your one arm to be stronger than their two, which is a dumb fight to get in. Instead, you have the option to allow them to remove your choking hand and just take advantage of their two-on-one arm strategy and replace it with your free hand, making that the choking arm.

Trading back and forth between a guillotine choke and a ninja choke will frustrate your opponent and wear them down until one choke or the other is too much for them to defend and you end up with a submission. 

Start: Guillotine 

Step 1: Opponent uses two hands to pull your choking hand out, and you feed your free hand through in the space created, making that the choking hand

Step 2: Figure four choking arm’s hand onto non-choking arm bicep

Step 3: Drop non-choking hand onto opponent’s back

Step 4: Drop non Choking elbow down while you lift choking arm up and squeeze

Finish: Submission via Ninja Choke

Posted on

How To Do A Twisting Arm Control Submission

The twisting arm control submission is an excellent BJJ attack that draws on a fundamental principle of Jiu-Jitsu and uses an opponent’s energy against them.

Mount is an extremely effective and dominant position in BJJ, but you may find yourself unable to finish a submission from mount due to your opponent’s strength, excellent defense, or escape attempts. In those cases, the twisting arm control submission is a useful transition to the back and the rear naked choke. 

Twisting arm control is a frustrating position for the bottom player, and many BJJ fighters will fall into this trap just to move out of the position. In MMA or a fight, the position leaves one of the top fighter’s hands free for punches, forcing the bottom fighter to escape or be knocked out.

This technique by the great Rener Gracie for his Gracie Jiu-Jitsu Academy Youtube channel is part of the Gracie How To Get a Blue Belt in BJJ guide.

Start: Mount

Step 1: Secure a cross-grip on one of opponent’s wrists and using your free hand to push their elbow, drag that wrist across their body to their opposite shoulder

Step 2: Lay your chest on the twisted arm and post your gripping hand into the mat to secure their arm in place

Step 3: Slide your free hand under opponent’s neck and grab their wrist, switching which hand has the grip

Step 4: Slide your back knee (the side that now has the grip on opponent’s wrist) up behind their shoulders and post front foot next to their stomach

Step 5: Pull opponent’s wrist towards you while pushing their elbow with your free hand, forcing them to turn away

Step 6: When opponent turtles (either out of frustration, to escape punches, or to avoid the discomfort of your heel digging into their stomach), abandon the twisting arm control and post both hands on the ground to get both hooks in and take the back.

Step 7: Slide one arm under opponent’s neck and through to other side, figure four your arms and reach free hand behind their head to finish a rear naked choke

Finish: Tap due to Twisting Arm Control Submission

Posted on

How To Do A Triangle Transition Straight Armbar From Guard

Brazilian Jiu-Jitsu has been compared to chess. While nobody ever got choked out during a chess match, the similarities are striking (no striking allowed in either chess or Jiu-Jitsu). In both games, you could easily achieve your goal if the other player were not playing, or followed simple responses to all of your moves so that your far side arm bar from side control worked perfectly every time. But in both chess and BJJ, your opponent wants to beat you as badly as you want to beat them, so they will fight and do everything in their power to stop your strategy while furthering their own. While that’s what makes this sport fun, it can be frustrating to hit a move dead on in practice a hundred times only to have it easily countered while rolling. But there’s always a counter to a counter.

That’s why live rolling is so much more important to developing your BJJ game than just knowing techniques. Even an encyclopedic knowledge of BJJ submissions with no rolling isn’t as good as a shallow understanding with experience on the mat.  In that same vein, having two options for an attack is crucial to success. 

The first one of these two-for-one techniques that a BJJ fighter should learn is the triangle and arm bar from guard. The triangle from guard pairs perfectly with the arm bar. If your triangle attack is stopped, or you lose the trap you had on your opponent’s head, you still have control of their arm and the arm bar from guard is sitting waiting for you. The essential piece of this puzzle is called the diamond position, and you may recognize it as the step in the triangle from guard where you hang from your opponent’s neck like a scarf before you figure-four your legs. 

Furthermore, learning this combination proves what many BJJ coaches will tell you over and over as your journey progresses: position before submission. Once you have the diamond position, a step in the triangle setup, you can branch off into the arm bar if your triangle is defended.

Start: Diamond position (closed guard with one arm and head in, one arm out) with opponent posturing up to counter triangle

Step 1: Open guard and drop foot of non- choking leg (on side with opponent’s arm trapped) to their hip

Step 2: Kick off hip to swing that leg over opponent’s head

Step 3: Grab opponent’s trapped hand and drive hips forward into elbow

Finish: Submission via Triangle Transition Straight Armbar From Guard

This submission is an essential BJJ technique included in the How To Get a Blue Belt in BJJ Series.

This great video is by Connection Rio Jiu-Jitsu Academy on Youtube.

Posted on

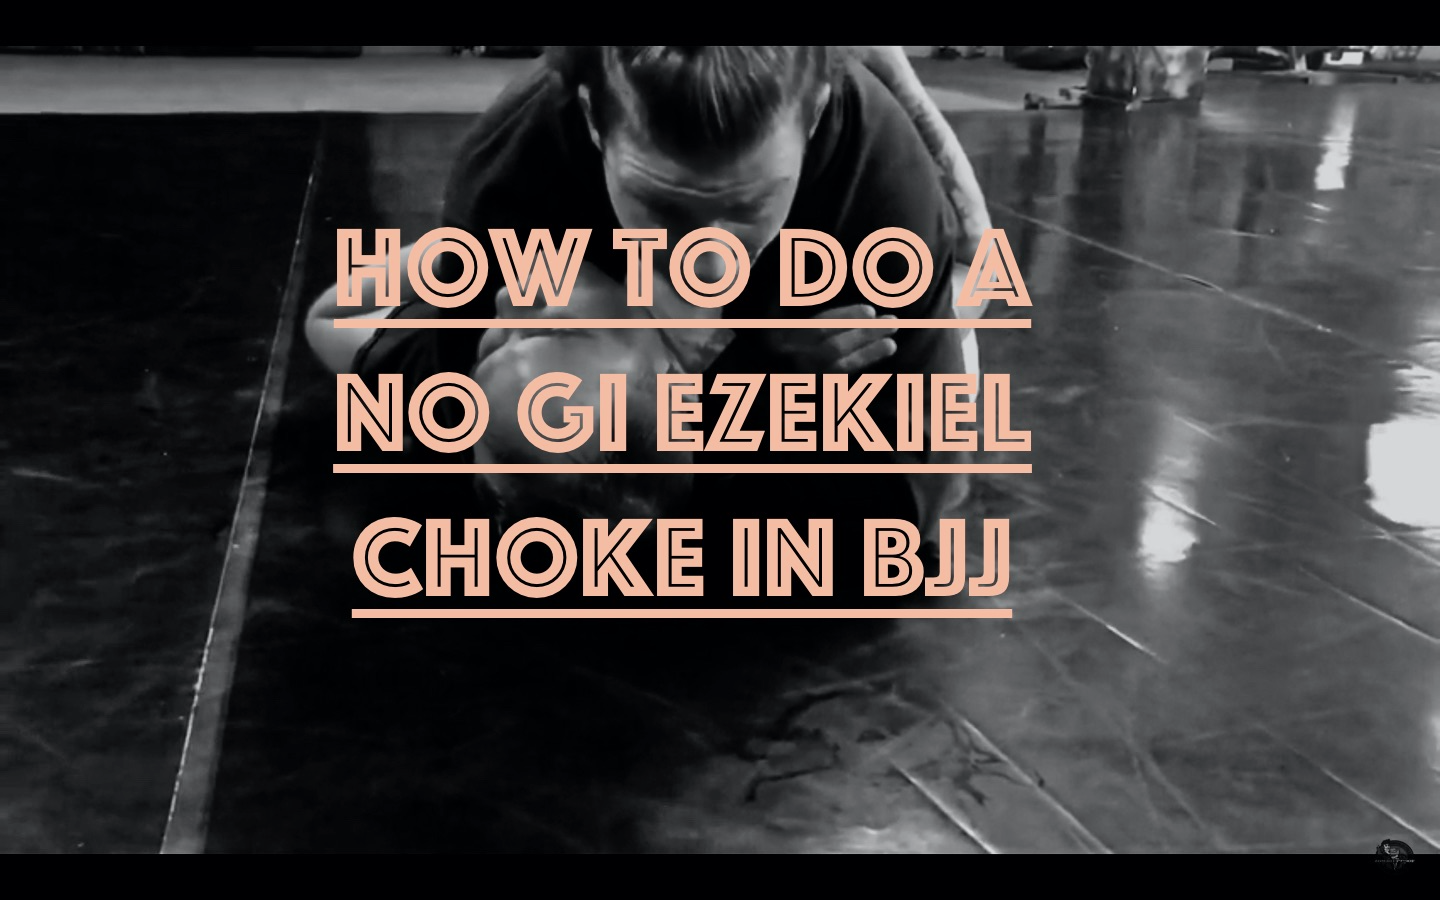
How To Do A No Gi Ezekiel Choke in BJJ

The no gi ezekiel choke in BJJ is one of the meanest chokes in the game. Achieved by wrapping your arms around your opponent’s neck and then figure fouring them so that no space is left and your opponent’s head feels like it’s going to pop off, this choke is one that should be in every Jiu-Jitsu fighter’s arsenal. Slow and methodical but strong and tight, the no gi ezekiel choke is absolutely disheartening for the victim.

The no gi ezekiel choke can also be used in gi BJJ, but there is an easier ezekiel choke that uses a grip on the gi sleeve instead of figure fouring the arms.

Start: Mount

Step 1: Establish deep cross face by pushing opponent’s head into bicep with your head

Step 2: Clear opponent’s free hand so that both of your arms are able to attack the neck (threaten an arm triangle so that opponent’s defense leads them to an underhook)

Step 3: Lean towards arm with cross face

Step 4: Grip bicep of your attacking arm with cross face hand

Step 5: Slide hand along opponent’s ear to their neck

Step 6: Squeeze arms similar to rear naked choke

Finish: Submission via no gi ezekiel choke

Posted on

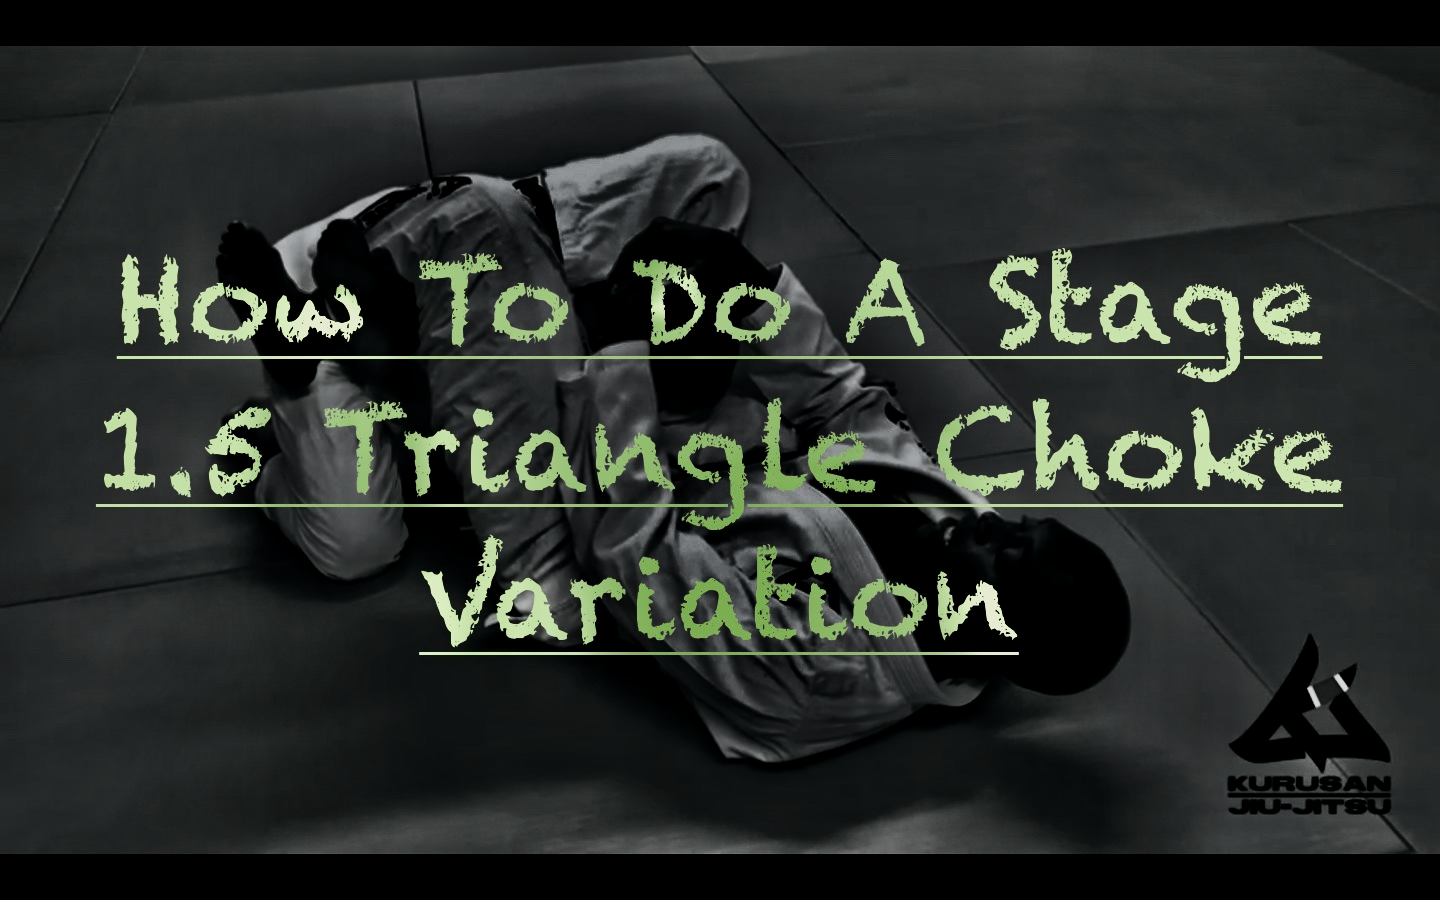
How To Do A Stage 1.5 Triangle Choke Variation

The triangle choke is an essential choke in BJJ. Brazilian Jiu-Jitsu as a martial art is focused on using body mechanics to submit an opponent even if they might be larger and stronger than you and the triangle from guard is a perfect example of that. Using the geometry of your legs and your opponent’s neck and arm, the triangle allows you to choke them without relying on strength.

The BJJ Stage 1.5 position is an open guard position that uses a push-pull on your opponent’s arm to secure them in a spot that prevents them from punching (in MMA or on the street), passing your guard, or backing out of the position. Stage 1.5 in Jiu-Jitsu is achieved by gripping your opponent’s wrist while pushing your knee into their elbow, blocking any movement forward or back.

The triangle choke stage 1.5 variation is a part of the How To Get A Blue Belt guide by Gracie Jiu-Jitsu.

Start: Stage 1.5 position, side with knee trapping opponent’s arm will be attacking side

Step 1: Push knee forward and then use the space created to slip foot up and over opponent’s shoulder, cross ankles

Step 2: Pull opponent’s trapped arm across your body to the attacking side

Step 3: Grab back of opponent’s head to pull them in and drop your non-attacking side leg to their hip, adjust your position so that opponent’s trapped arm is 90 degrees

Step 4: Bring attacking-side leg over opponent’s neck so that your hamstring is against their neck and figure four your non-attacking leg over your shin

Step 5: Push your knees together, pull opponent’s head down and push your hips up

End: Submission via stage 1.5 triangle choke

Posted on

How To Do a Giant Killer Triangle Choke Submission in BJJ

The triangle choke submission in BJJ is one of the defining submissions of the sport. Using the triangle choke a smaller or weaker person can use the mechanics of their legs to choke the neck of a larger, stronger opponent. The triangle perfectly illustrates the Brazilian Jiu-Jitsu core belief that technique will beat strength. That belief is at the core of the name of this submission, the giant killer triangle choke. 

The giant killer triangle choke submission is a basic technique that is a part of the How To Get a BJJ Blue Belt guide for what the Gracie family expects every blue belt to know. 

The giant killer triangle submission is an option if your opponent is too large or too strong for you to secure the open guard 1.5 position and you are left without the push-pull necessary to fully control their upper body. 

Start: Closed guard with opponent hugging close to you

Step 1: Use legs to push opponent’s hips down and away from your head

Step 2: Use two hands to push opponent’s head to one side (this will be attacking side)

Step 3: Post non-attacking side foot on the ground and shrimp to that side

Step 4: Put both feet onto opponent’s hips and grab opponent’s non-attacking side arm with both hand

Step 5: Stretch opponent out with push-pull of hips and arm to create enough space for triangle setup

Step 6: Swim attacking side leg up and over opponent’s neck and lock ankles

Step 7: Push opponent’s trapped arm across their body

Step 8: Post non-attacking foot on opponent’s hip and rotate your body in line with their trapped arm

Step 9: Figure-four non-attacking side knee over attacking shin

Step 10: Pull down on opponent’s head and squeeze triangle choke 

Finish: Submission via giant killer triangle choke submission

Posted on

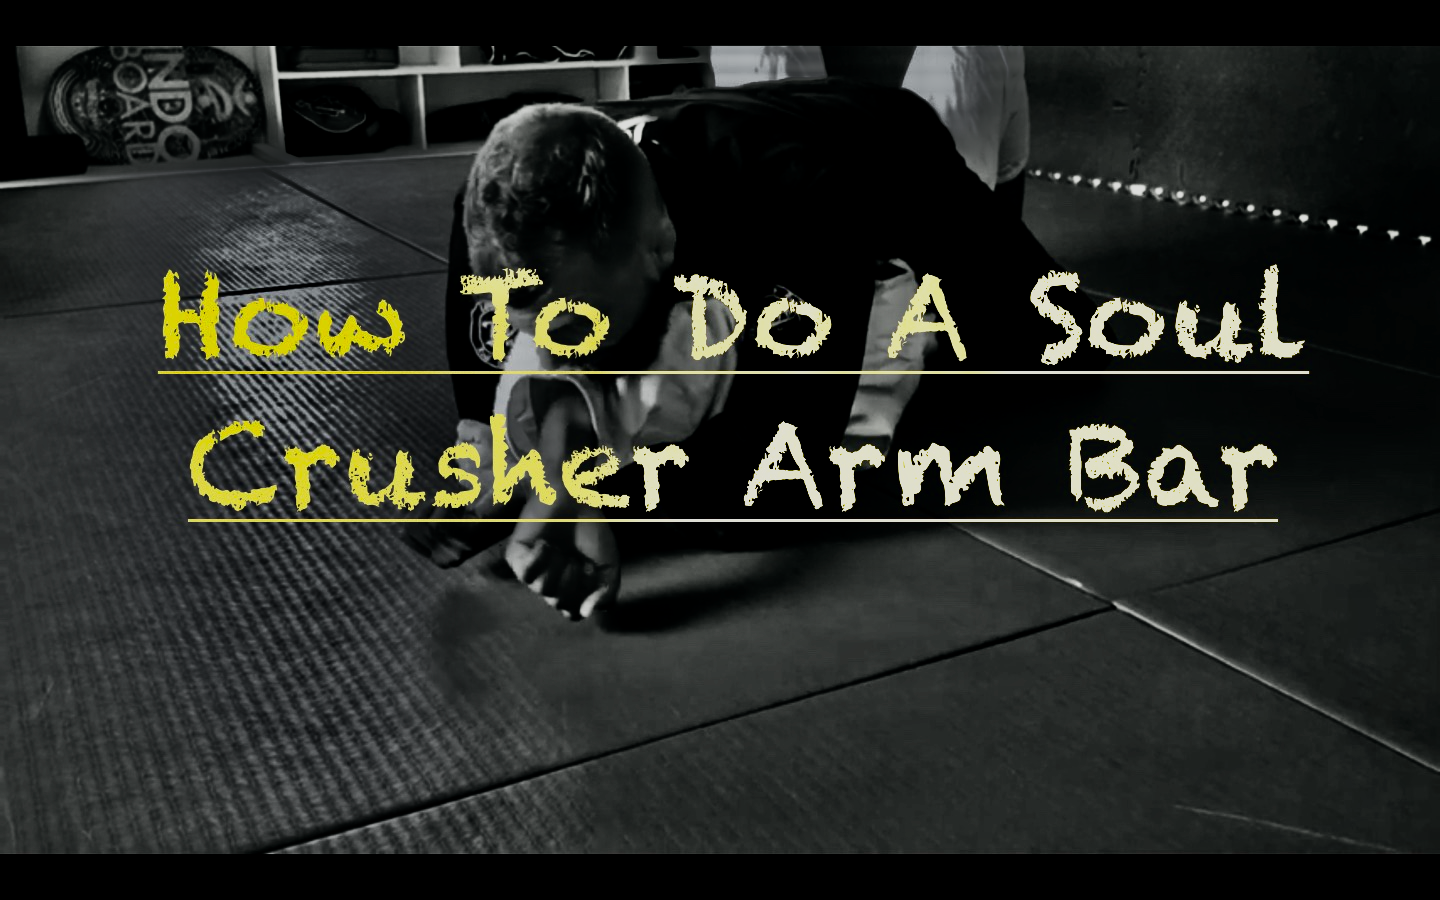
How To Do A Soul Crusher Arm Bar in BJJ

The soul crusher position in BJJ is an absolutely vicious setup for the cross body arm bar from mount that will leave your opponent broken and defeated. Part of the goal in BJJ is to do the coolest stuff, and a big part of that is hitting the submission with the coolest name. Sure everyone knows the guillotine and anaconda choke, but while those are intimidating names, they aren’t quite as mean sounding as the soul crusher arm bar.

Part of what makes the soul crusher a cool submission is that it lives up to its name. The soul crusher puts your weight to work on your opponent’s chest, and then their shoulders while you force them into an awkward, uncomfortable position where they beg you to just submit them.

Start: Mount 

Step 1: Stretch your opponent into a pressure mount by hooking your heels around their legs and stretching them down and away from your body while arching your legs up and lifting your knees off the ground to drive your hips into your opponent’s body.

Step 2:  Get a cross face with your attacking arm and reach all the way through to opponent’s arm pit

Step 3: Drive opponent’s elbow to the ground with your attacking hand

Step 4: Circle non-attacking hand to the mat palm down below your opponent’s elbow

Step 5: Walk attacking hand up to above opponent’s head

Step 6: Grip across opponent’s head with at your non-attacking hand

Step 7: Give up crossface and repeat elbow drive and walk up above opponent’s head with that hand

Step 8: Squeeze both arms together

Step 9: Switch to high mount

Step 10: grip opponent’s elbow with attacking hand

Step 11: Kick non-attacking leg out away from opponent’s body

Step 12: Sit up onto opponent’s waist and post non-attacking hand on the mat for support

Step 13: Lean in and step attacking side foot over opponent’s head

Step 14: Sit back and bridge hips

Finish: Submission via soul crusher arm bar

Posted on

How To Do A Kimura From Side Control Bottom in BJJ

Side control bottom in BJJ sucks. You are stuck on the ground with someone pouring all of their weight right into your chest making it hard to breathe while they’re also trying to bend your body in impossible directions. Add in that, unlike being mounted, you don’t have the option to upa (or bridge quickly with) your hips to knock your opponent off balance and create some space to maybe recover to a better position and side control can be a very frustrating place to find yourself if you’re new to Brazilian Jiu-Jitsu. But there is one trick that lets the BJJ fighter on side control bottom take back some of the power: The kimura from side control bottom.

The kimura from side control bottom is a simple submission that uses the same kimura mechanics you know from the kimura from guard, kimura from side control, kimura from mount, or kimura from half guard bottom. While you may not get a submission with the kimura from side control bottom, it can open up options for escaping side control bottom.

This particular kimura from side control bottom involves catching your opponent while they are transitioning past your guard into side control bottom. It can also be used if you are able to hip out enough to grab a grip on your opponent’s high-side arm with both of your hands.

Start: Opponent past your guard and transitioning to side control

Step 1: Grip opponent’s high-side hand (the side they are passing on) with your inside hand

Step 2: Drop to your inside hip

Step 3: Reach outside hand over opponent’s tricep and grab your own wrist

Step 4: Turn onto outside hip and shoulder, allowing opponent to follow their movement and fall over your body onto their back

Step 5: Switch your hips perpendicular to opponent’s body and push their arm back towards their head

Finish: Submission via kimura from side control bottom

Posted on 1 Comment

How To Do a Half Guard Lockdown Calf Slicer in BJJ

The half guard lockdown is a great BJJ position that secures half guard, preventing your opponent from passing while allowing you to work on submissions and sweeps. By simply wrapping your feet around your opponent’s shin, you can prevent their movement and they have to work on passing your lockdown before they can think about passing your half guard. That extra step gives you a chance to work on submissions from half guard lockdown. 

If you’re unsure of how to get the lockdown position in Brazilian Jiu Jitsu, check out our writeup How To Do the Half Guard Lockdown in BJJ.

A calf slicer is a brutally painful submission in BJJ that put the shin of your leg into the calf muscle of your opponent, causing immense pressure. This move is illegal to use in gi BJJ competitions but is legal in nogi BJJ and MMA, but this submission can do serious damage so be careful training it in your gym.

Start: Halfguard with lockdown

Step 1: Dive inside hand under opponent’s opposite armpit and sit up so that they are on all fours and your top half is clear of their body on the side of their trapped leg

Step 2: Grab opponent’s trapped shin with your inside hand

Step 3: Abandon the lockdown and figure four your legs with the outside foot on your inside knee

Step 4: With both hands, pull opponent’s foot towards you

Finish: Submission via half guard lockdown calf slicer